SOCIAL MEDIA

Doll Play with the Horses

Saturday, April 13, 2013

One day this past week Zoey came home with NO HOMEWORK after school!  Hooray!  Usually she has some spelling words to study or math that she didn't finish at school so having no homework at all is a special treat.  We stopped for ice cream that day and then once home she got out her stable set from it's place in her room and set it up in the living room for some more room to play.  It's usually set up under her art easel for playable space saving storage so it was fun to get the whole set out and spread it out a bit.  I thought it would be fun to share some photos...


Kristen and Elizabeth are the ones that loves the horses the most lately...our horse is named Butterscotch and the foal is named Sandy.

Rebecca's kitten wanted to go for a ride with Elizabeth!


Kristen groomed Sandy and took care of some other chores.


Rebecca had her first ride and Elizabeth stayed right with her so she wouldn't get scared.  She did great!


Hmmm...I have told you that our dog Leo always has to get in on the doll play action right?


Zoe even stopped by to see what was going on...


Such a fun afternoon with the horses!


post signature

Doll Play - Getting the Easter Baskets Ready!

Tuesday, March 26, 2013

McKenna and Rebecca had fun getting the Easter baskets ready for all of their friends this year...I found the baskets at our dollar store in a pack of 8 baskets for $1.00.  I had left over Easter grass from last year so figuring out the dolls Easter baskets this year was a breeze!


We are wondering what the Easter bunny will leave the dolls this year...last year they got some fun food playsets from American Girl.  They are so excited to see what this year brings but they are a bit concerned that the bunny will be able to find them this year since we still have so much snow!


I'm going to guess that the Easter bunny will manage just fine...


Are your dolls ready for Easter yet?  In tomorrow's post we will share a tutorial on how to make an Easter basket for your dolls using a Styrofoam cup!

post signature

Doll Play - Getting Ready to Go Camping!

Wednesday, March 20, 2013

Over spring break here the dolls did a bit of camping...here Zoe is getting some of the supplies out and taking a break to grill some burgers and hot dogs (the burgers are buttons and the hot dogs and skewers were made by Misty and given to Zoey last summer).  The grill was part of a floral bouquet that was made for Father's Day and was also given to Zoey by Ruby's mom, Misty.  It's the perfect size for the dolls!


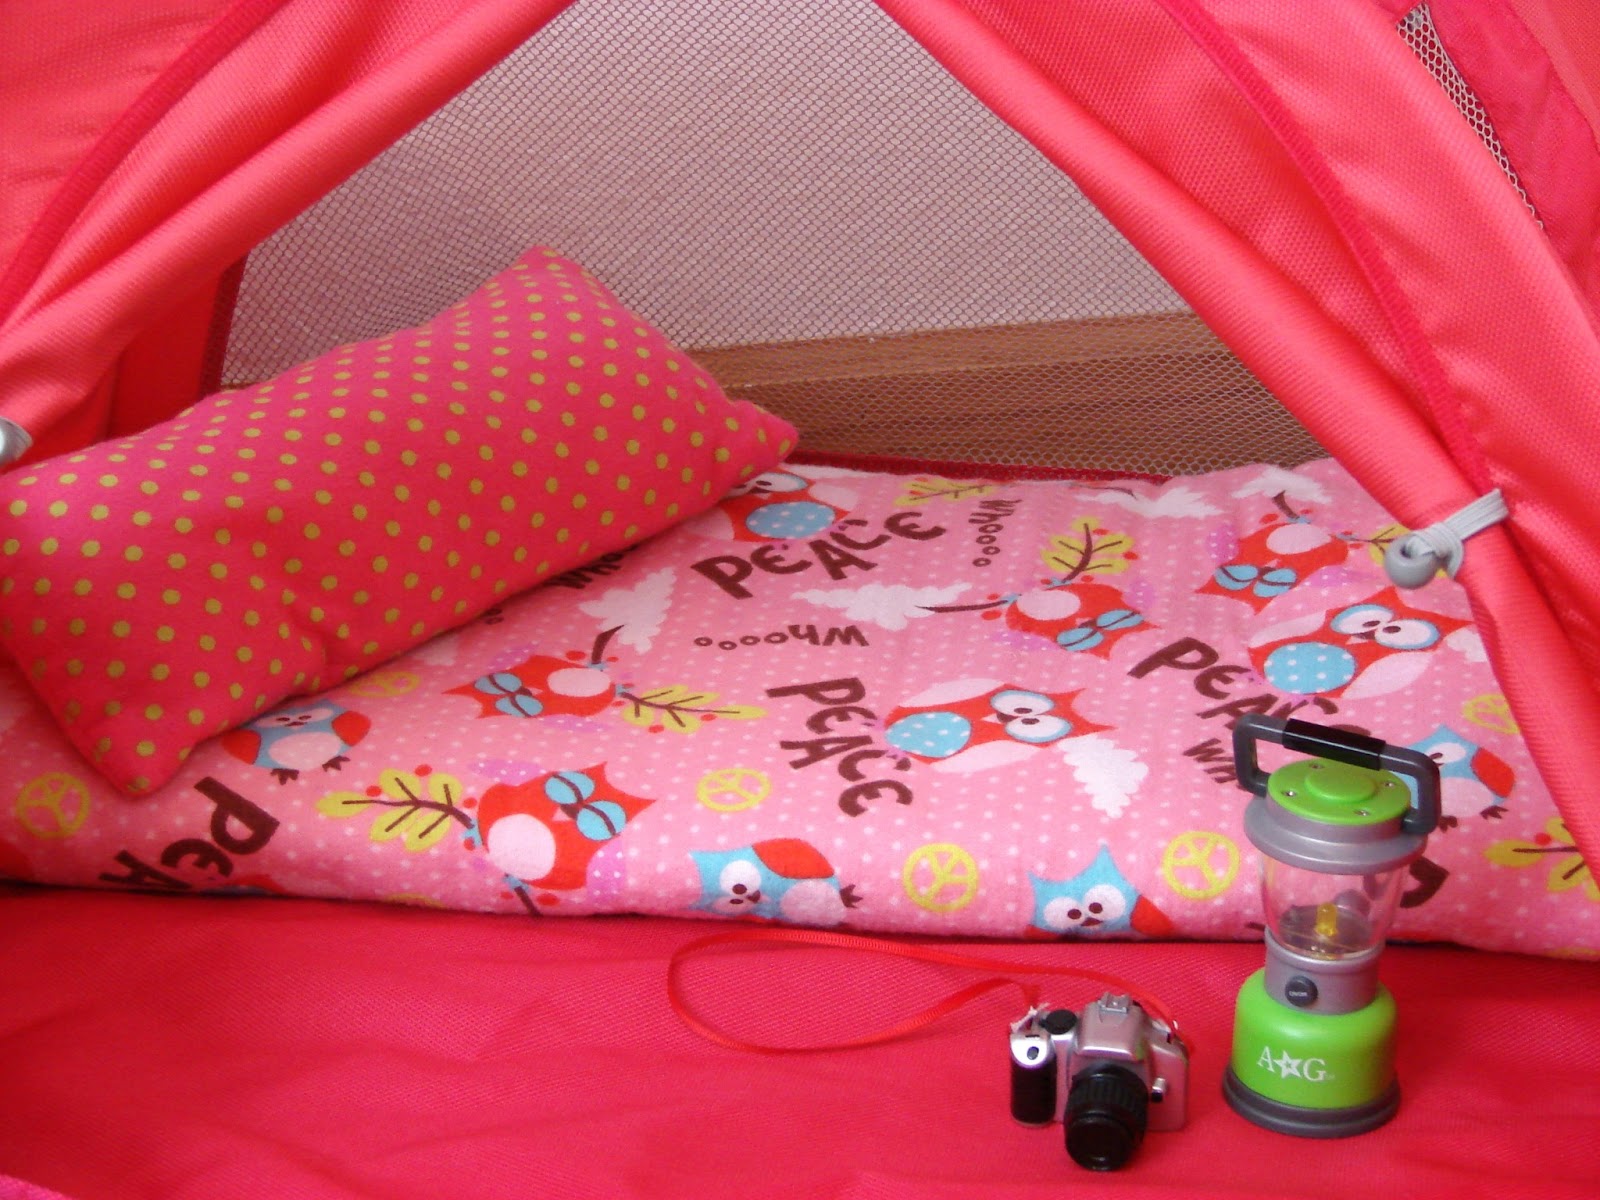
Here is a view of Zoe's sleeping bag in the tent.  It's so cozy in the tent!


Now Zoe just needs to talk some of her other doll friends to go camping with her!!  


post signature

Doll Play - Baking Fun!

Monday, March 18, 2013


So, I just can't get over the bread that we made the other day...I LOVE it and am so proud of the girls.  They really did a nice job I think.  Anyways, I wanted to share some photos of Rebecca taking a turn in the kitchen doing some baking.  We think she did a great job as well.  :)


We flipped one of the circular loaves of bread over and put it in the mixing bowl to make it look like dough.


And here are some close-up shots of some of the individual loaves.  I just can't get enough of them!


Would you care for a slice?


post signature

Doll Play - Hair Styling

Friday, March 15, 2013

Yesterday Zoey got out her salon chair that we had picked up at Wal-Mart awhile back and got busy styling Kristen's hair.  It's getting more and more fun for her to style her dolls hair now that she is getting older.  She is always so careful with her dolls hair and in the past has always brought her dolls to me to do fancier hair styles.  It's fun to see that she's doing more and more of them now on her own and that they are looking pretty cute!


The salon chair that she had gotten came with some salon supplies which included a faux hair dryer so Kristen got a "blow out" while at the salon.


Here is the back of Kristen's look...


 and the front.  :)


Zoey was pretty proud!  Where do you go to get hair style ideas for  your dolls?

post signature

Doll Craft - Make a Lemonade Stand!

Wednesday, March 6, 2013

I have seen so many adorable little play sets lately that are lemonade stands or bakeries or some other fun stand for your dolls, and while they are all tempting...I don't really want to spend the money right now on something that we really don't have all that much room for.  Making one seemed more feasible and financially responsible, especially when using a box!  That's right...we used a box, some foam core board, and two cardboard tubes from wrapping paper.

Here is the box we used, it's the one that the American Girl bathtub came in...you can use any box though that you feel is a good size for your lemonade stand.


I first cut off a portion of the front end of the box...the cut end will end up being the bottom of my lemonade stand.


Here is another view of the cut off end.


Here I flipped it back up on it's side just so I could do some reinforcing of my box.  Depending on your box you may or may not need to do this part.


Next I covered (what will be the front of my lemonade stand) with patterned scrapbook paper to make it prettier.  The papers that I used for this project are all from the EK Success brand of papers for American Girl Crafts.


After covering your front and the sides of your box with patterned paper cut off the top flap of your box.


Now you will want to cut a piece of foam core board to cover the top of your box.  I cut mine so that a bit hung over all the sides.


I added some trim to the front of my counter area.


Next, I cut a circle into the foam core board on either side of the counter top making sure that it was just a bit bigger than my wrapping paper tubes but not much.  To cut the circles I used the circle cutter by Martha Stewart.


I placed my counter on the top of the box and traced the circles and cut the circles out of the box too.


Now you can slide your wrapping paper tubes into both sets of holes (through your counter top and your box).  you will want to cut the tops of your tubes at an angle.


Now, using that flap that you cut off your box earlier, trim a bit more off the edge that you had already previously cut.


Using hot glue, generously apply glue to the tops of your tubes and glue on your box flap.


I covered my box flap with patterned paper and stickers to make it look cute (you can't really tell in these photos due to the afternoon light that I was dealing with when taking my photos) and added a little banner that I had made previously.


I also added another strip of foam core board to the bottom of my lemonade stand and poked some little flowers that I found at the dollar store into it for decoration.


Zoey and Ruby had so much fun playing with their dolls selling lemonade, baked goods in addition to some other treats!


At one point it got really busy and their was quite the line...


Such a fun way to use an American Girl box!  Save those boxes, you just might want to use one for something creative!

post signature