SOCIAL MEDIA

Make Paper Party Lanterns!

Tuesday, July 2, 2013

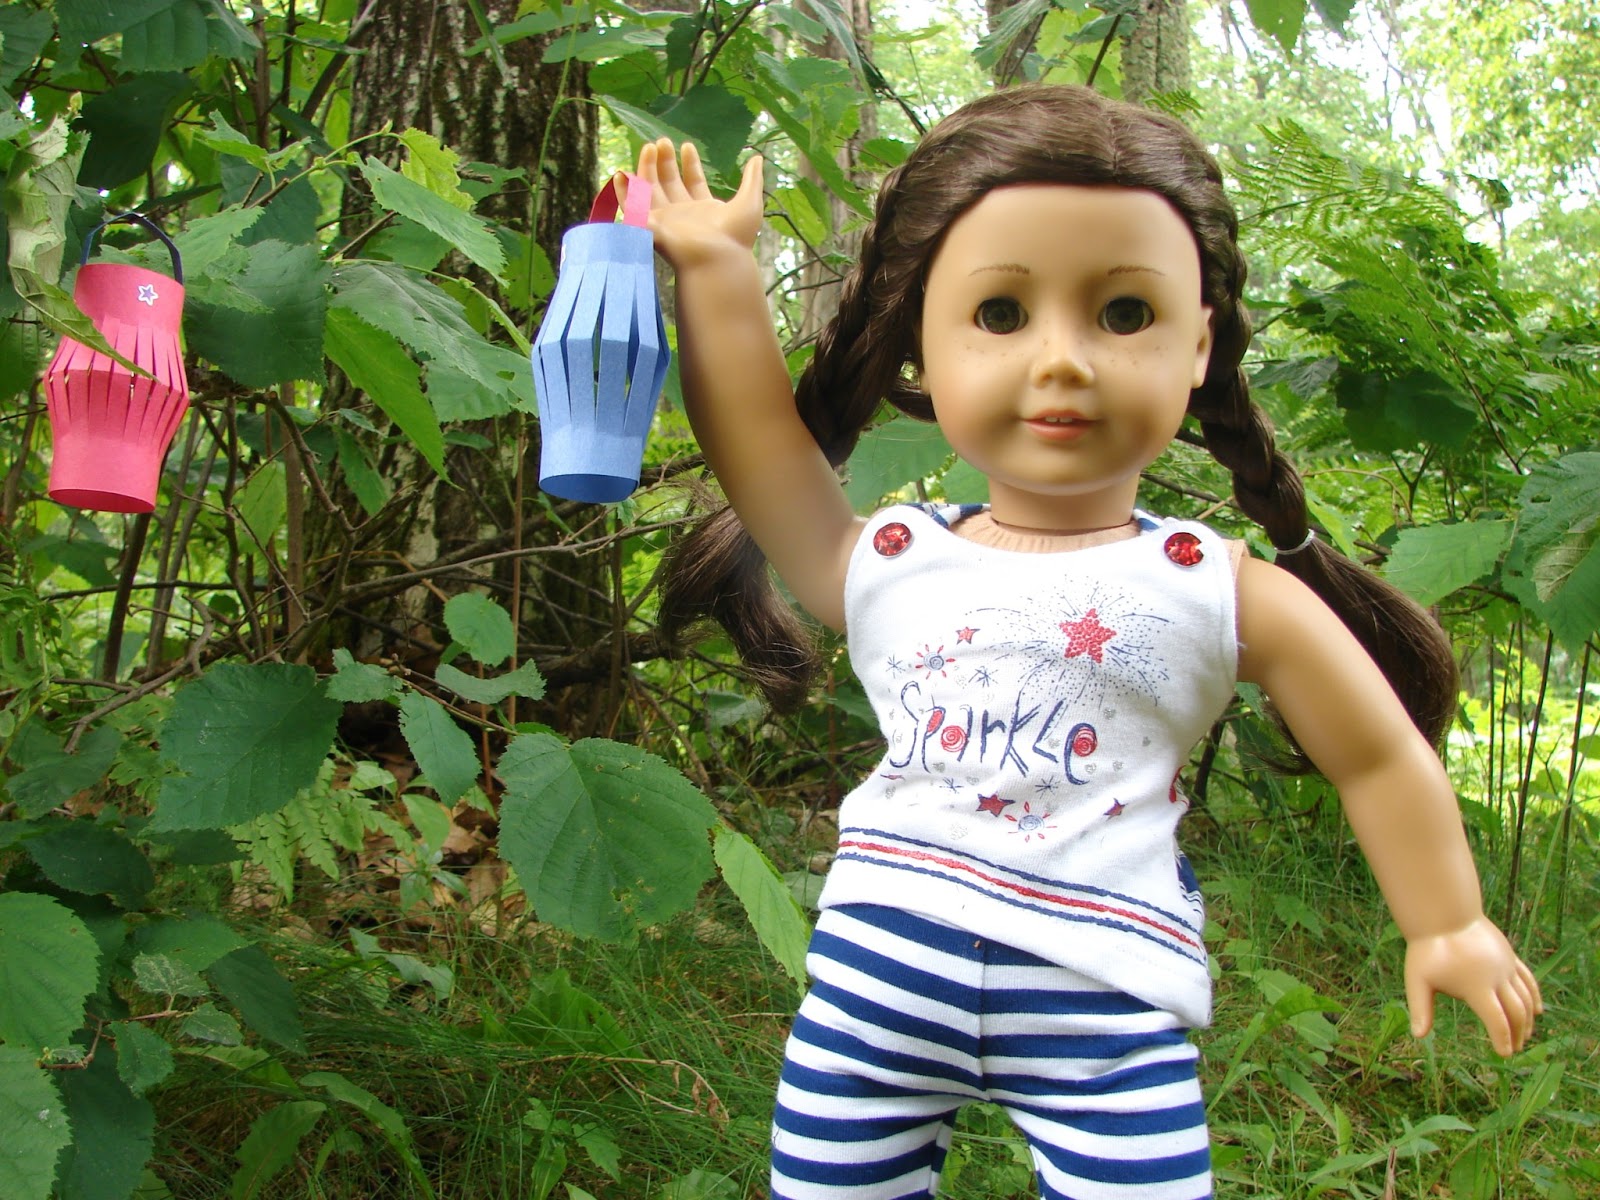
Stop on over to see our guest post on Doll Diaries for a tutorial on how to make some easy paper party lanterns for your doll this Fourth of July!  They are super easy to make and add a lot of festive decor for any party your doll may be planning!


Kristen had so much fun helping to get ready for the Fourth of July Picnic that the dolls are planning.


Enjoying some good old American hot dogs after all their hard work...


A special "behind the scenes" photo for you of Zoey being a great helper!  :)


Are your dolls ready for the Fourth of July yet?

post signature

How to Make a Diving Board for Your Doll!

Monday, July 1, 2013

Seeing Amanda's post the other day about her dolls having some fun in the water boating made me think about swimming and how our dolls haven't been able to go to the beach yet due to the excessive rain that we've been having here lately.  So, Zoey and I decided to go to our dollar store and Ace Hardware and get supplies to make a pool and diving board for the dolls!

Our supplies consisted of the following:

Scrap pieces of wood as pictured, two thin pieces that will be the board and then three blocks to stack on top of one another for the base of the diving board, duct tape, a large plastic basin/tub for the pool, nails, hot glue and glue gun.


First you will want to hot glue your three pieces of block wood.  These will be the base of your diving board.


Then hot glue your two thin, long pieces together as well for a little more durability so your dolls don't weigh it down too much when standing on it.


Now, using your duct tape, start covering your base with tape.


Do the same with the plank or diving board.


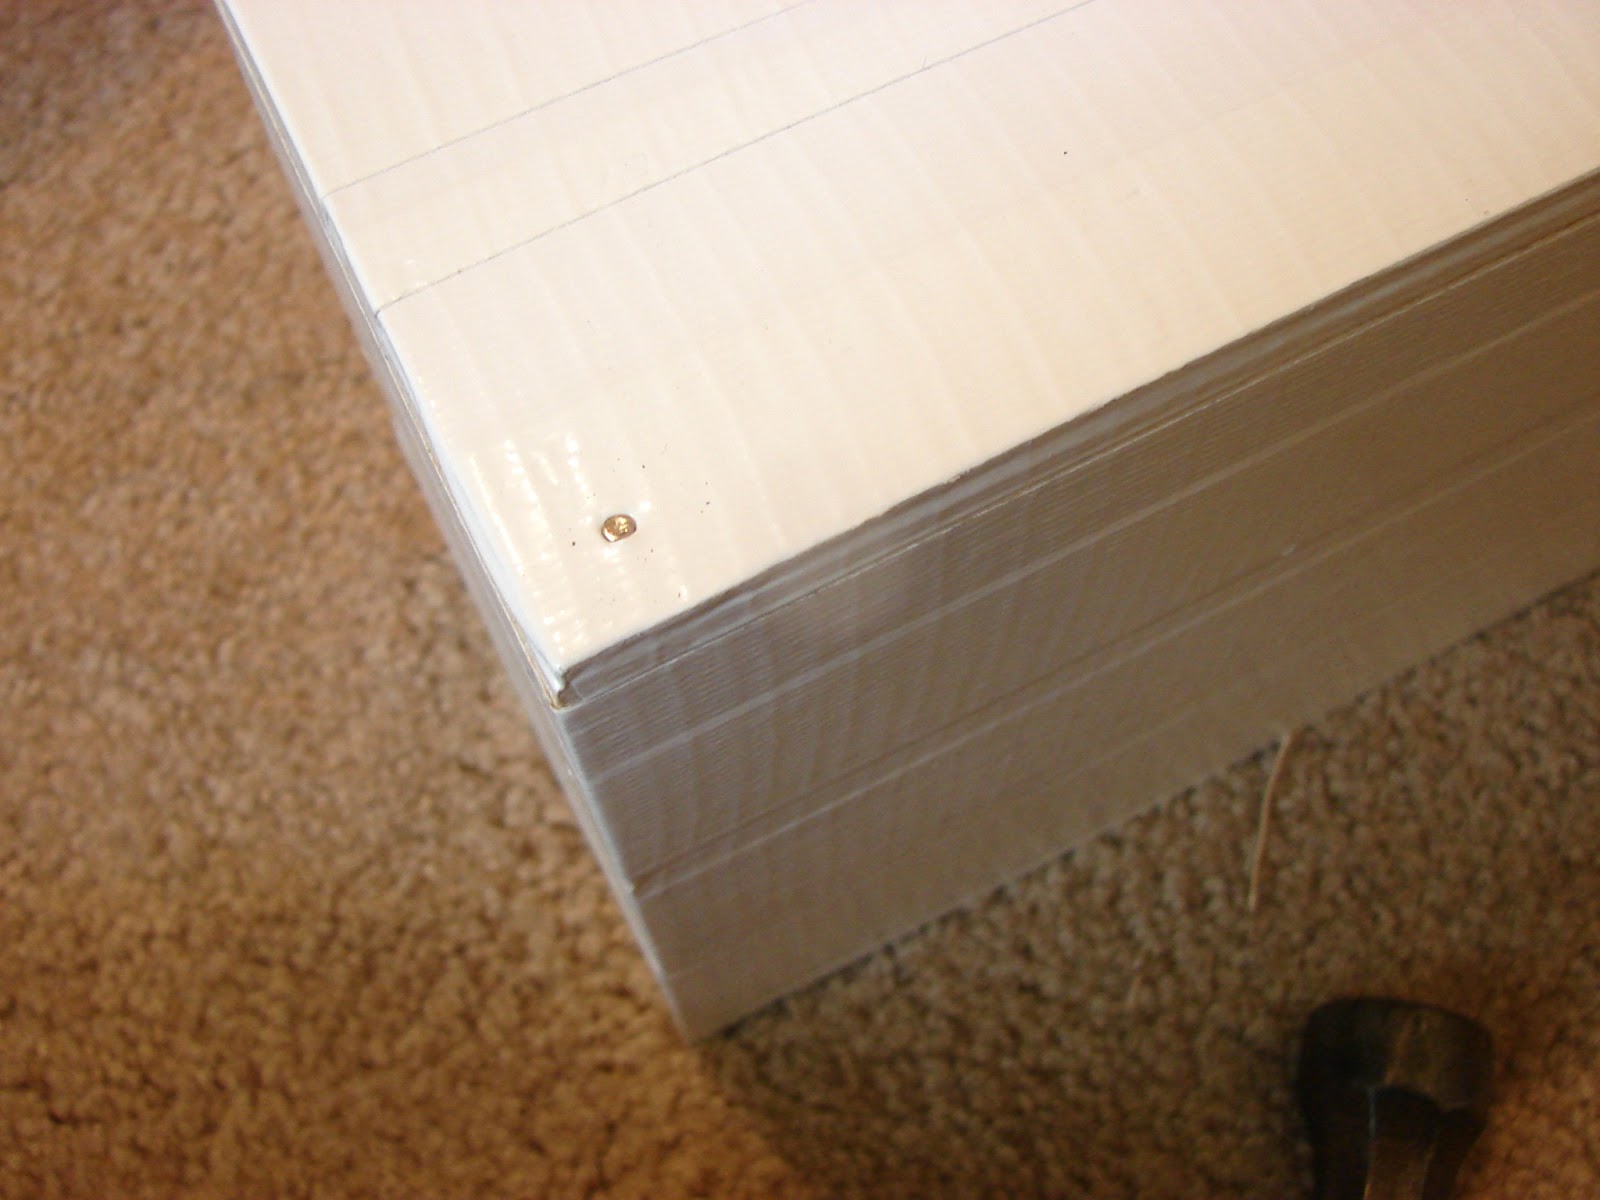
This is what you have so far...


Now, nail your board to your diving board base so that it is secure.  I don't think hot glue would be enough support for this step so if you need to ask a parent to help with hammering than please do so.


Here is your finished diving board!  I think we are actually going to decorate the sides of our board with some fun summer themed stickers but this is what it looks like right now.


We couldn't wait to play with it so got the dolls in their suits and their towels ready so they could test out the water right away!


They LOVE their new pool and diving board!!


  Whee!


Summer friends are the BEST friends!


Thanks Amanda for the inspiration from your previous post!

post signature

Sewing with Misty - Turn Pants into a Doll Skirt!

Monday, April 8, 2013
Now that our doll family has doubled in size to four dolls, I've been scouring the internet for easy doll clothing to make.  I was really happy when I found this quick tutorial on Creating My Way to Success for a denim skirt made out of a pants leg by Creatively Content!


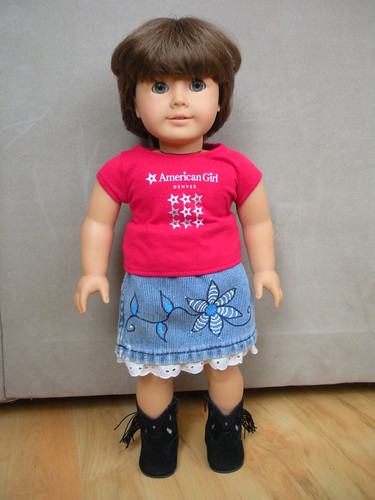
Here's our Molly wearing her new denim skirt.  I love how quickly this skirt came together and really, any pant(s) leg would work.  How cute would a corduroy skirt be?

Denim Doll Skirt

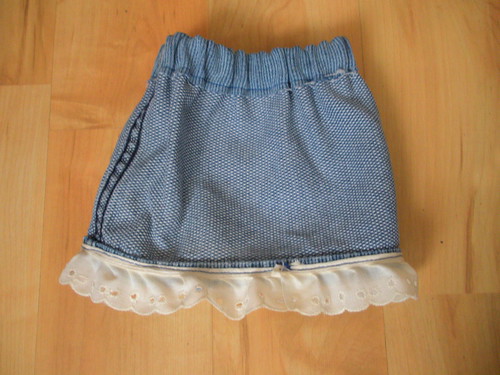
I added some lace trim to the bottom of my skirt for a sweet touch and used some puffy paint and a sharpie to hide some existing stains.  Here's a look at the inside of Molly's skirt.  All I used was a basic straight stitch for the waist as well as for the lace.

Inside Out Demin Doll Skirt

And that's it!  Now to find more pants around here to cut up!


Doll Craft - Make a Standing Lamp for Your Doll

Thursday, February 21, 2013

Our friend Misty helped us make a couch for our dolls by sharing an idea with us (more on that soon) and once we had the couch we thought we needed a standing lamp to go beside it.  Here are the supplies that you will need to make this craft for your dolls:

patterned papers
colored duct tape (optional)
wood dowel
dixie cup
yarn or ribbon trim (for your lamp shade)
plastic tub or container (from butter, cream cheese, cocoa, etc.)
scissors
hot glue gun (or other adhesive of choice)
tea light (optional)


Glue your dixie cup to one end of your dowel.


Next, trace your container, one side at a time (if square like ours) on the paper and cut out the pieces.  If you have a round container you can just cut strips of paper to size to wrap around your container.


Trace the bottom of your container on to the paper and cut out.


Here are our cut pieces of paper...


Adhere your papers onto your container starting with the paper that is for the top of your lamp shade.


Keep going all around your lamp shade...


This is what it will look like when you are done.


Next, put some hot glue along the bottom rim of your lamp shade and add some pretty trim.  I had some fuzzy pink trim that worked perfect!


Also add your trim to the front and back of your lamp shade covering up where your papers overlapped.


Next, add some contrasting trim to the bottom and top of your lamp shade.  I'm a scrapbooker and had some cute ribbons and trims to choose from and we found this cute yellow trim to use for ours.


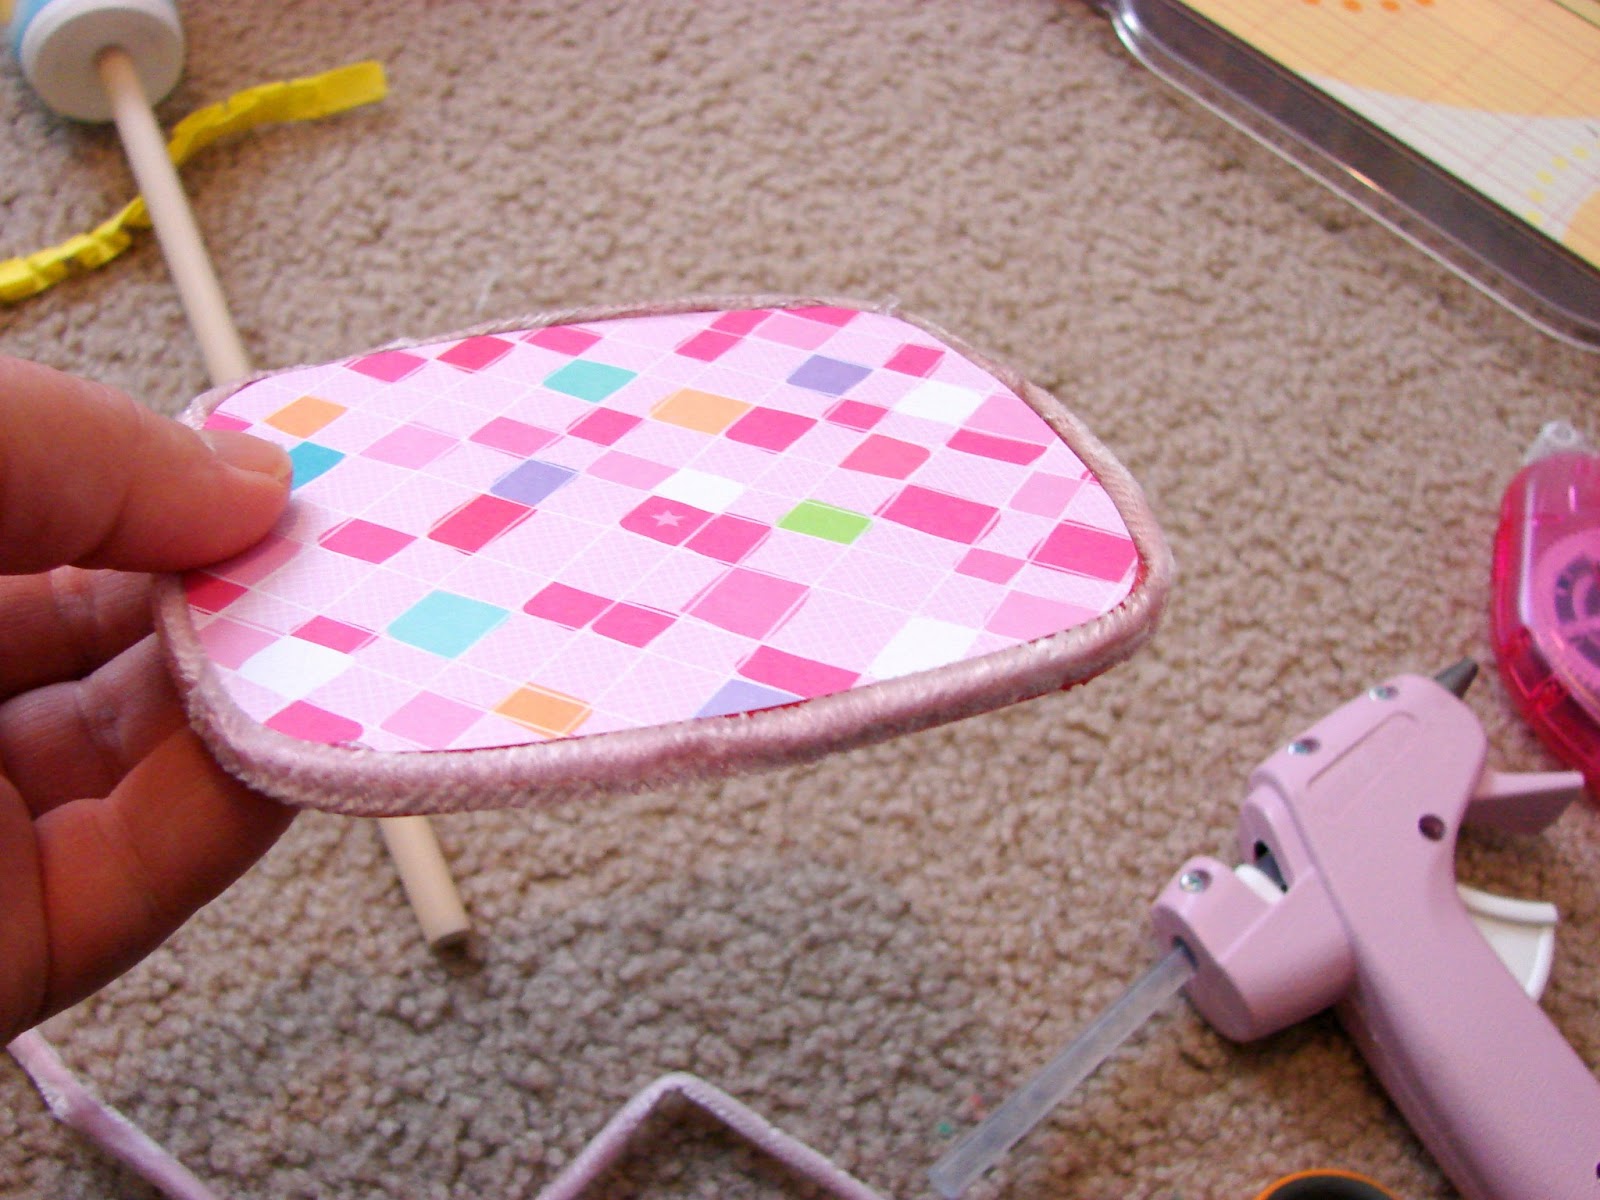
Now take your lid to your container and trace it on to your paper and cut out just inside the lines.


This you will glue to the top of your lid.


Add some more pretty trim around the base of your lamp.


Using some colored duct tape, wrap around your dowel to cover up the wood if you like.


Attach the dowel to the base of your lamp using hot glue.


Now, put your lamp shade over your dixie cup and you now have a standing lamp for your dolls!!  Isn't it cute?


McKenna is going to love reading using the light from her new lamp.  You can put your tea light in the dixie cup for real light if you like (make sure it's battery operated...NO fires please!!

If you make a lamp for your dolls using this tutorial please be sure to share a picture of it with us on our Facebook page!  We would love to see it!


post signature